How to Set Up the Adobe/Namely eSignature Integration
Instructions for setting up the initial Adobe/Namely integration for eSignature documents.
OVERVIEW
With Namely’s Adobe eSignature integration, you can upload your own documents, customize editable fields, and send them employees to be electronically signed, either during onboarding or at a later date. eSignature also integrates with Namely Payroll via Tax Withholding Unification, so when employees update their federal or state withholding information via eSignature, those changes will automatically populate on their tax profile.
Refer to this video: eSignature Overview
REQUIRED PERMISSIONS
Once enabled, all Administrators automatically have access to manage and send eSignature documents, either during onboarding or on the Manage eSignature page.
Other users and limited Admins can be granted access using the Administer Onboarding Sessions permission and the Company settings eSignature permission in your company's roles and permissions.
SETTING UP THE INTEGRATION
To begin setting up your Adobe integration, go to Company > Settings > eSignature. Enter a first name, last name, company, and company email address. Note: please use a company email address that belongs to your team as a whole- agreements cannot be sent to email addresses that belong to users in your Namely site (i.e., to an individual's email).
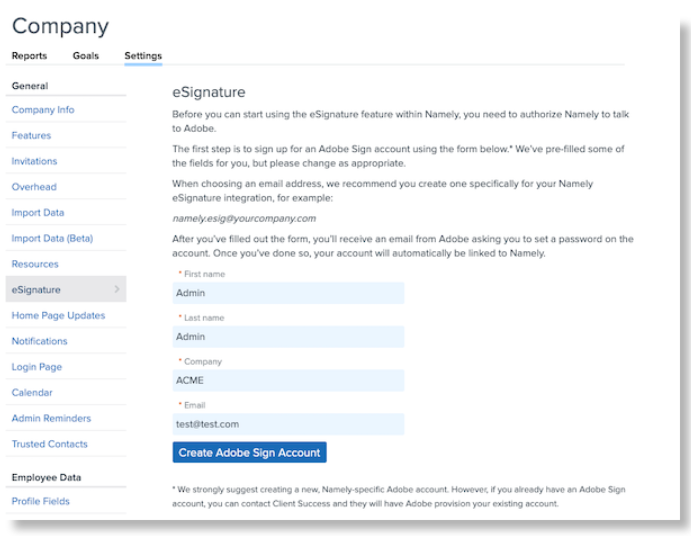
Once you click Create Adobe Acrobat Sign Account, the email address will receive an email prompting you to create an Adobe Acrobat Sign account.
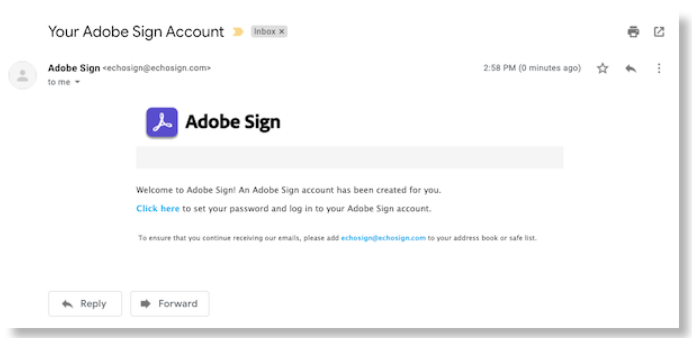
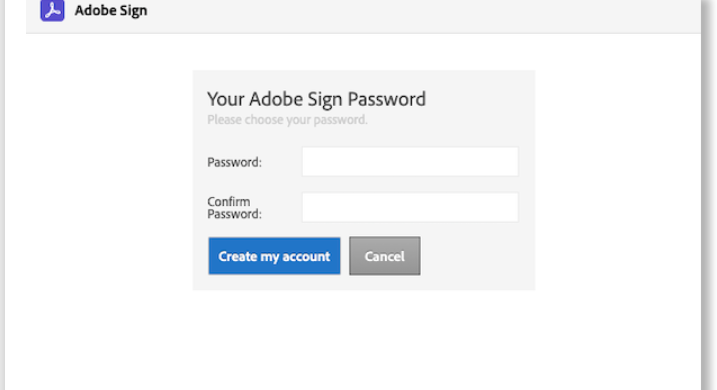
Once you've created your Adobe Acrobat Sign account, navigate back to Namely > Company > Settings > eSignature, and click Connect with Adobe.
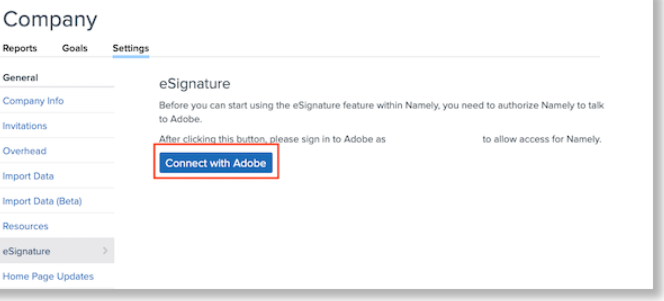
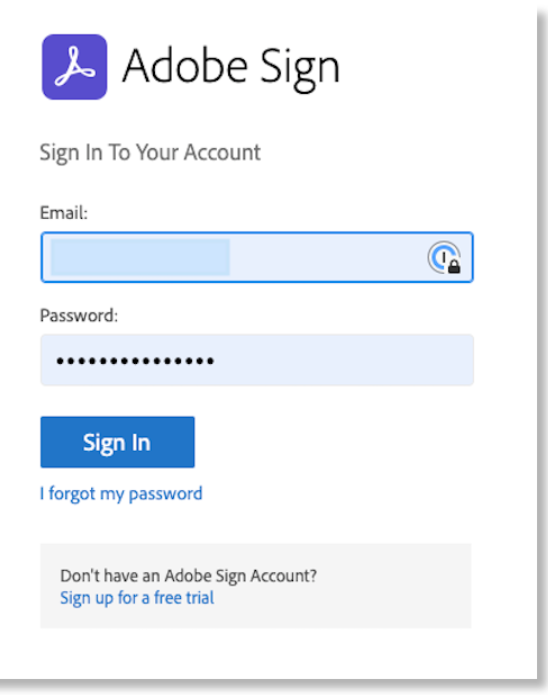
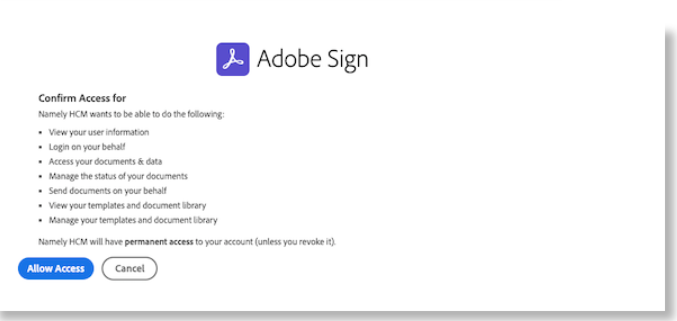
Enter the newly created Adobe Acrobat Sign credentials, then click Allow Access.
Once completed, you can begin adding and editing eSignature documents.
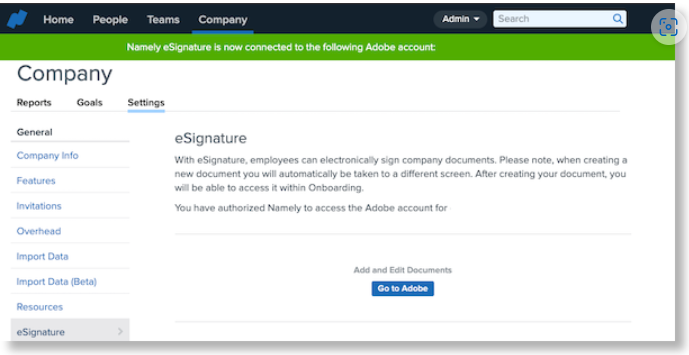
For more information about creating and managing your eSignature documents, see How to Create Templates in Adobe.